 Whenever 3D models are created, we need to consider if it needs any “supports” in the printing process. The best advice we give to all customers who use our 3D printers is to avoid using supports. Let’s talk more about support, why you should avoid it, and how to avoid it.
What is Support?
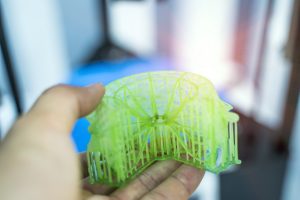
Supports are an extra material that acts as “scaffolding” to hold a design in place if there is nothing beneath it to build on. Depending on your design, supports may be necessary to prevent filament from drooping when it’s printed. However, supports can be difficult to remove and will add time to your print job. It is recommended to avoid them as much as possible. As a general rule, only use them for objects with an overhang beyond 45°, as without the support your object might sag and break. The photo below shows what prints look like printed at more than a 45° without support, the surface becomes very rough and undesirable.
How to Reduce the Need for Supports?
The YHT Rule- A good way to remember what shapes are safe to design without supports and which to avoid.
Anything in a “Y” shape is safe to print without support because it’s a gradual slope which still has enough material beneath it to keep it from drooping. Even though the arms the of “Y” are outstretched, because they extend at 45 degrees or less, they do not require support.
Designs that take the form of an “H”, where the middle overhang connects to either side is called bridging. Bridging allows material to be printed without support and with minimal or any sagging. However, if a bridge is over 5 mm long support generally is required to give an accurate surface finish. For this example, the center bridge is over 5mm and support was needed.
Anything with a “T” shaped overhang will not have any support and will almost certainly create errors in your print. There is nothing for the outer arms to be printed on and the material will just fall down without support for the arms of the letter.
Split the Model into Multiple Parts So They Can Each Print Flat
After you print the parts, you can bond them with an adhesive like cyanoacrylate (super glue) or a solvent. This can be especially useful for complex designs and larger prints.
Anchor Your Print
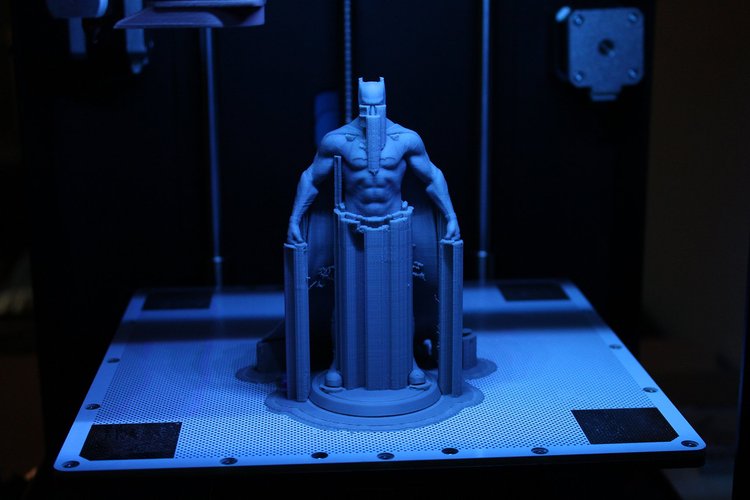
Anchor parts of your design that would go beyond 45 degrees and attach them to a different part of the model to avoid overhang. The photo below shows a very detailed example of what an anchor looks like supporting a delicate print job.
Orient Your Model Properly
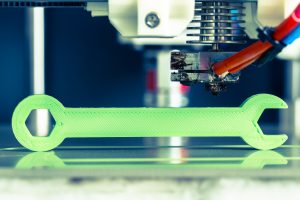
When an object is imported into a 3D conversion software, you need to ensure that it is sitting directly on the build plate. Supports can sometimes be reduced simply by rotating your design into the appropriate orientation for printing. For example, in the case of the ‘T’ print above, the need for supports can be completely removed by laying it flat on its back. The photo below is an example of what not to do when orienting your model. Printing a wrench side way will require a lot of supports at the hole, the actual bolt's holder, and the handle; it is best to lay the wrench flat on the build plate to prevent any overhangs and avoid additional support.
Dissolvable Support Option
On finely tuned printers like our Ultimaker 3 at Aaniin Library (which is closed right now due to the pandemic) with two print heads, the support material can be printed with a dissolvable material that does not tear away from the part but instead dissolves away in a manner that does not affect the main material of the printed model. This will result in a better surface finish where the support is in contact with the main material but can be an expensive and a time-consuming solution.
Feel free to email us, the 3D printing specialists, if you have any questions at DigitalSpecialist@markhamlibrary.ca


Add a comment to: Design Tips From 3D Printing Specialists : Design to Avoid Supports