For the month of June, Markham Public Library is running a 3D design challenge! If you are between grade 3-10, then you are eligible to join for the chance to win! For more information about the challenge, visit here.
Ever felt that your designs could use a splash of color after grouping? Multicolor to the rescue!
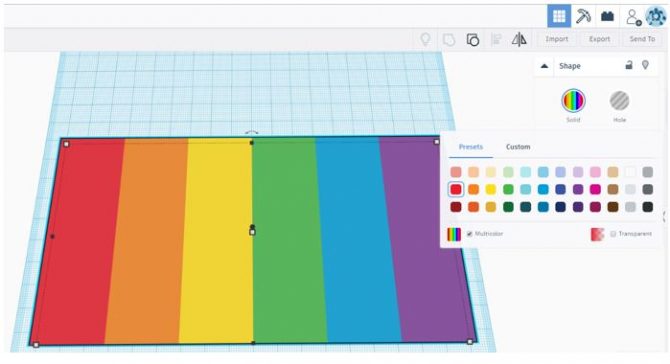
The “Multicolor” option can be found under the color panel in the shape inspector. This option preserves the original colors of the shapes in your design when grouping.
So, if you don’t want shapes with different colors to end up being the same color when grouping, this is what you need to do:
-
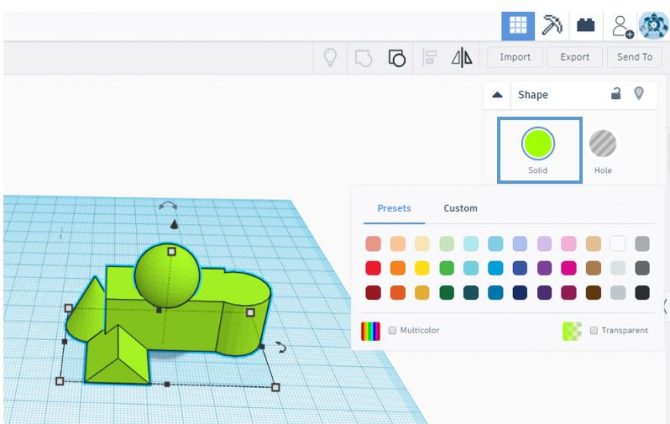
Select the shapes and group them into a single object.

 Note: Grouping the shapes should make them all the same color. Depending on the order the parts were selected, your design will change to the color of the first shape you selected. Here is another blog post on some basic techniques on using color.
-
To keep the original shape colors within the new group, select the new shape and expand the color panel from the Shape Inspector window by pressing the “Solid” button.

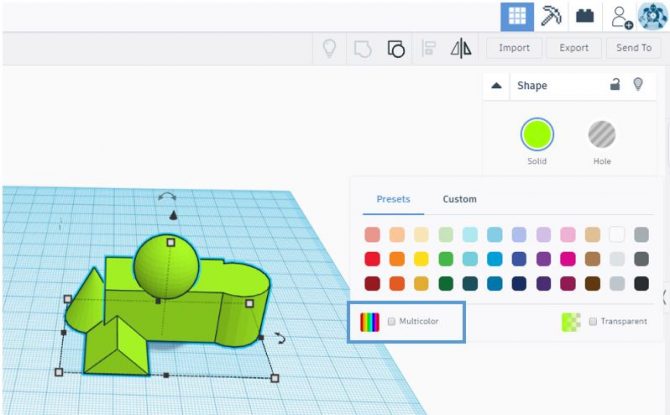
3. At the bottom of that panel you will see a checkbox called "Multicolor". Check this box to maintain the original shape colors within the new group.
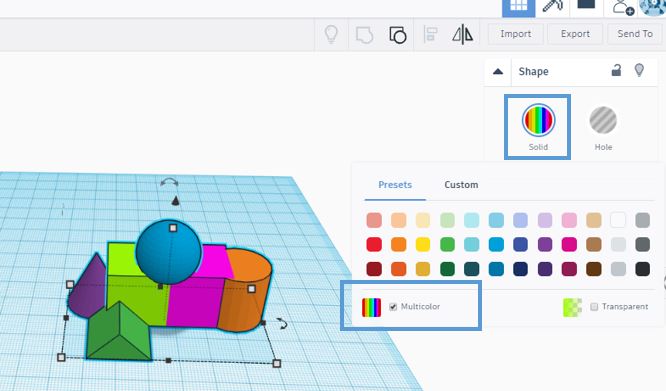
 4. After checking the “Multicolor” box, the color indicator in the Inspector panel will show all the colors that are in the group as stripes.
-
To keep the original shape colors within the new group, select the new shape and expand the color panel from the Shape Inspector window by pressing the “Solid” button.
 Now that you know more about how to customize shape color in Tinkercad, put your 3D modelling skills to the test and enter your colorful design into our 3D Challenge!


Add a comment to: Tinkercad: How to Use the Multicolour in Your 3D Designs